
Exam is over, I have time to sit in front of the laptop to update my blog again. This dish was prepared on Mothers' Day. Instead of queuing up for a decent meal, I decided to keep my day simple and cook one pot meal using my LC buffet casserole. We do not need to pay a premium to have this sumptuous Tomatoes Seafood Paella.


Tomatoes Seafood Paella
(Serve 4 persons)
Recipe by TAGlicious
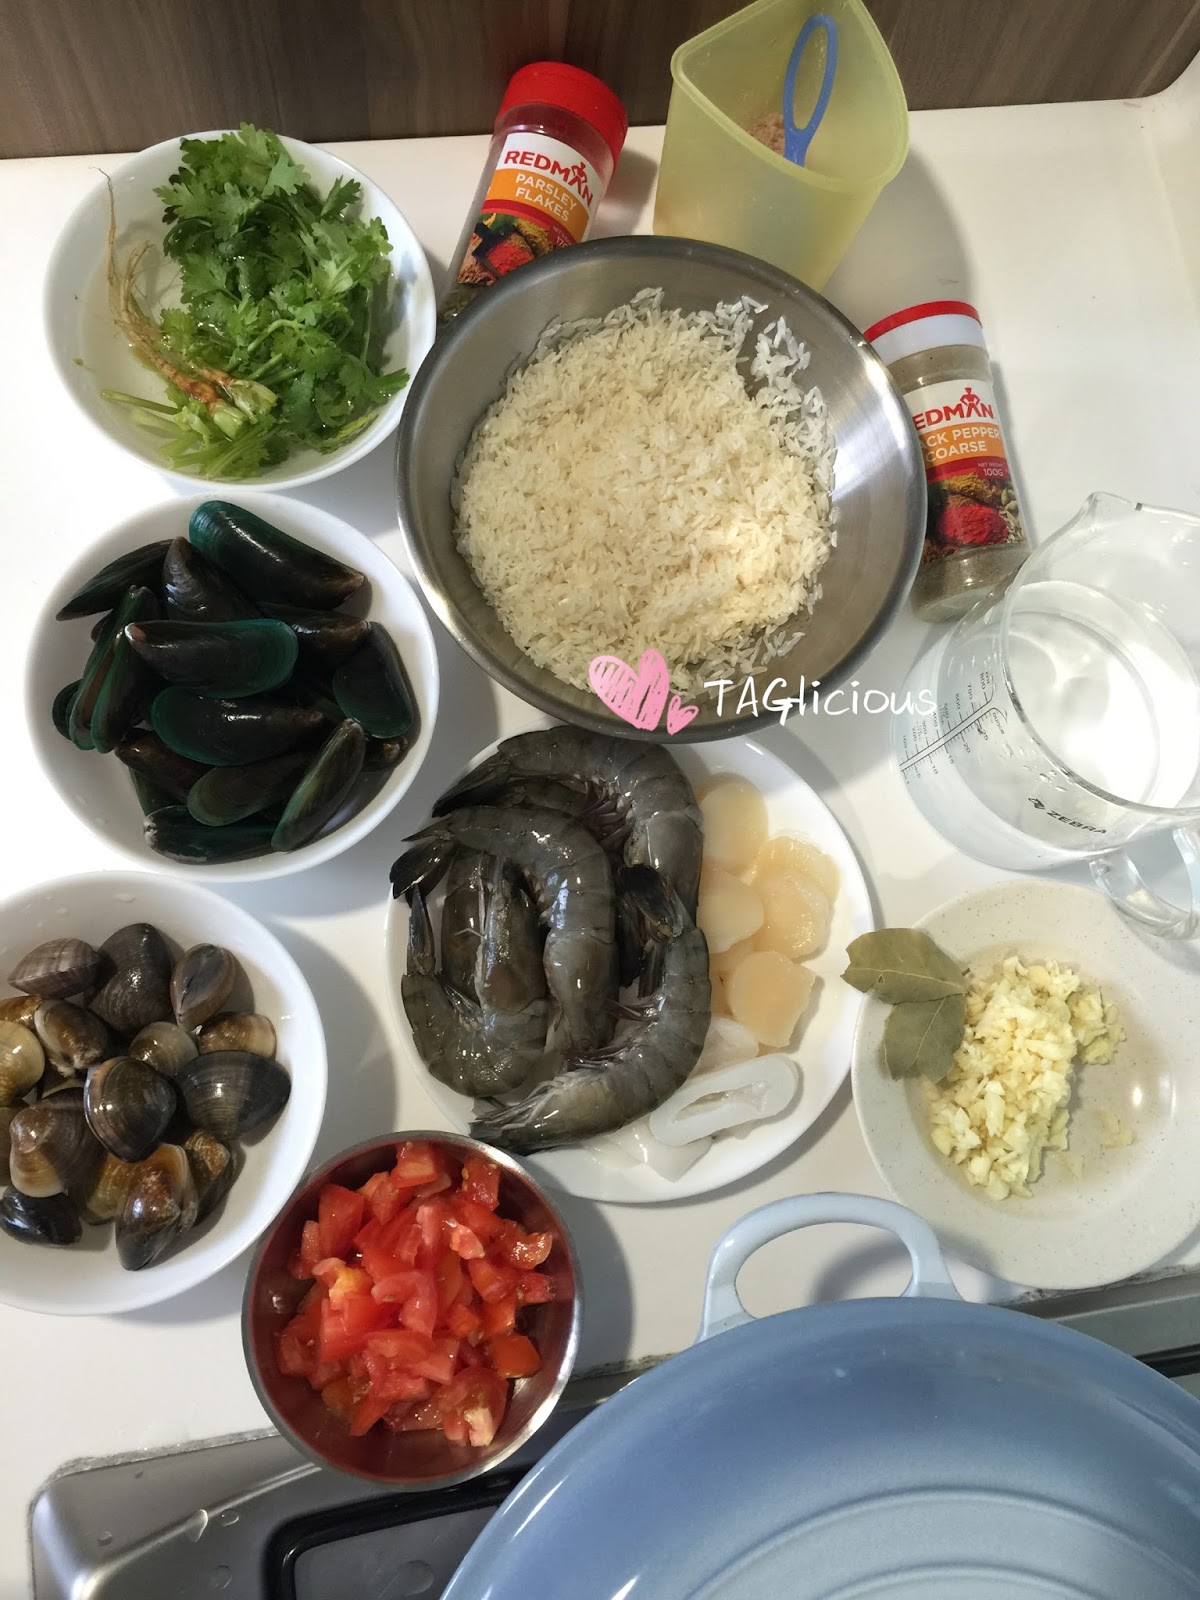
Ingredients
- 2 cups rice (about 300g)
- 400ml water
- 5 cloves garlic
- 2 tablespoon olive oil
- 2pcs dried bay leaves
- 1 cup tomatoes, diced
- 300g mussels
- 300g clams
- 8pcs large prawns
- 1 large squid
- 8pcs fresh scallops
- 1 teaspoon of parsley flakes
- Salt and pepper to taste
Sauce
- 1 tablespoon light soy sauce
- 2 tablespoon tomatoes sauce
- 2 tablespoon of water
- 1 tablespoon chopped coriander
***Mix well and set aside to pour over the paella before serve.
I used 30cm Le Creuset buffet casserole for this dish.
Steps:
- Heat up the casserole under medium low heat. Add in the oil and sauteed the garlic till fragrance.
- Add in the diced tomatoes and stir fry for a couple of mins.
- Add in washed and drained rice, bay leaves, parsley flakes, salt and pepper. Mix them well.
- Add in the water and mix them well. Close the lid and let it simmer cook under medium low fire for 8 mins.
- After 8 mins, Rice is about 60% cooked and liquid is almost drying up. Remove the bay leaves.
- Arrange the prawns, squids and scallops nicely on your paella. Cover the lid and let it cook under medium low fire for 5 mins.
- After 5 mins, arrange the mussels, clams nicely on your paella. Cover the lid and let it cook for 10 mins.
- After 10 mins, add in the prepared sauce oven the paella evenly. Close the lid and let it simmer cook for another 5 mins.
- Off the fire, let the dish continue to "steam" for another 10-15 mins before serve. Get your cutlery ready and enjoy this Tomatoes Seafood paella.


Note:
- Cooking time varies because cooking pot and stove is different. Please adjust it accordingly.
- This dish work well in rice cooker too. Give it a try if you don't have a casserole.
Cheers & stay well!
Loves, TAGlicious


